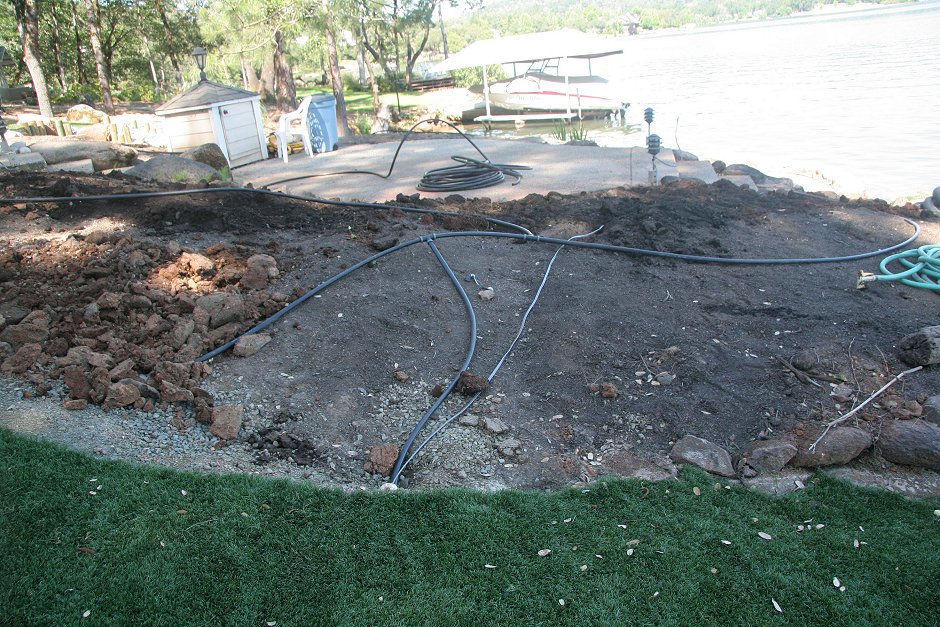
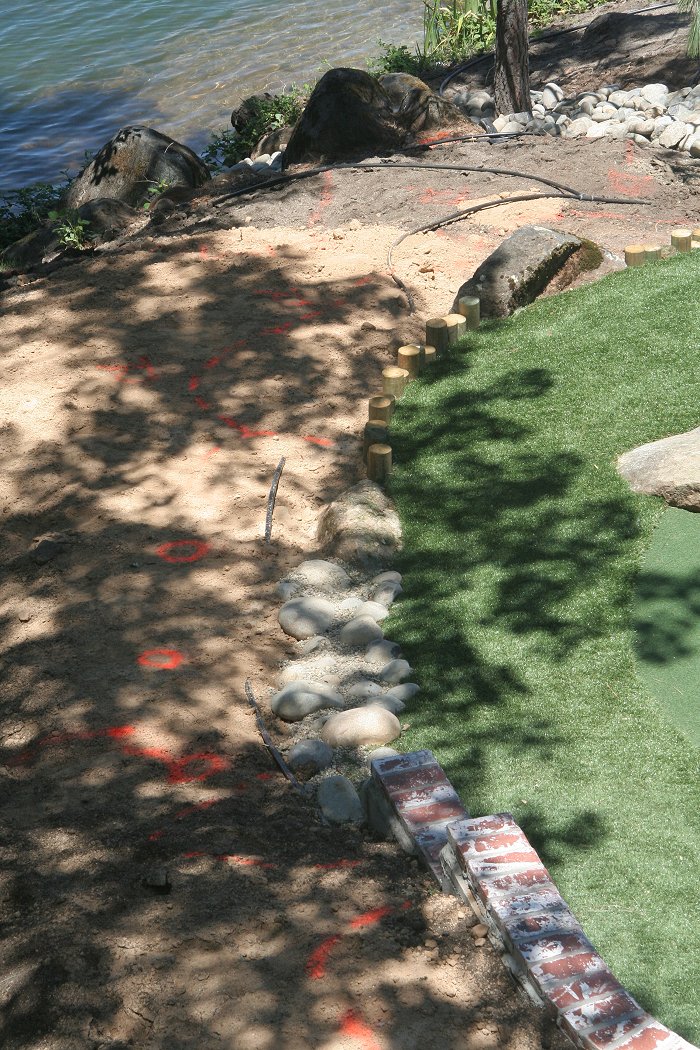
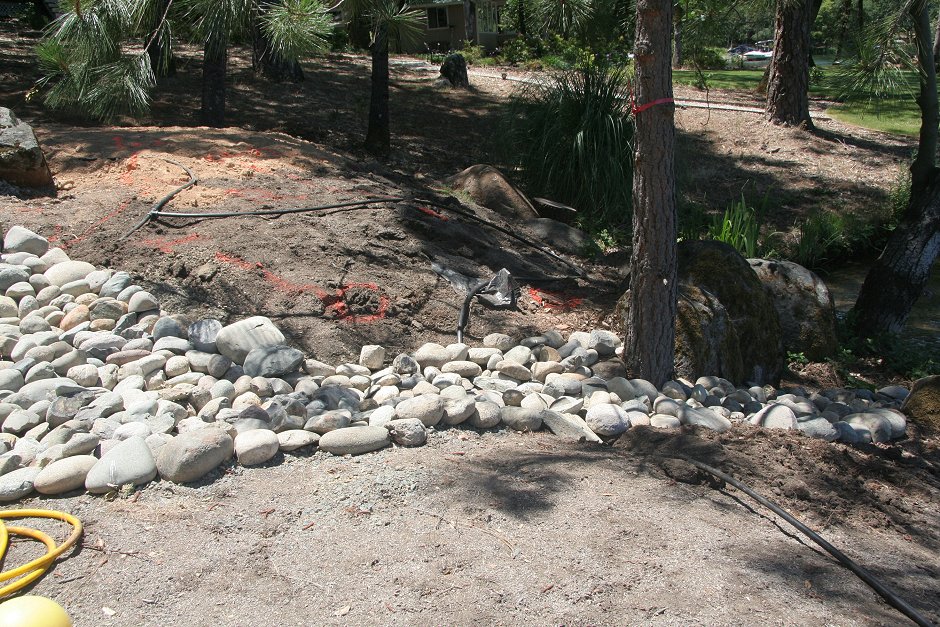
| The
east-side drip system starts with a line from the valve box (top center,
just beyond the peeler-pole wall), under the green and through this boulder-bounded planting area, then back under the green to... |
 |
Lakeside Landscaping in
2011
at the Lindberg Lake Wildwood
Resort
Part 15 -- Drip Line Watering Scheme
Work on Tuesday, June 21, 2011
| The
east-side drip system starts with a line from the valve box (top center,
just beyond the peeler-pole wall), under the green and through this boulder-bounded planting area, then back under the green to... |
| |
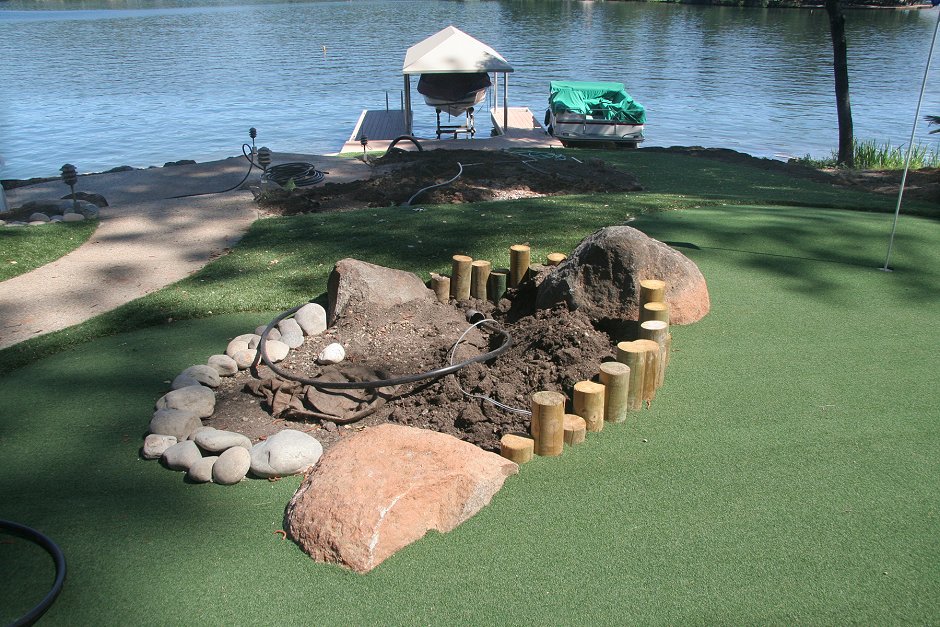
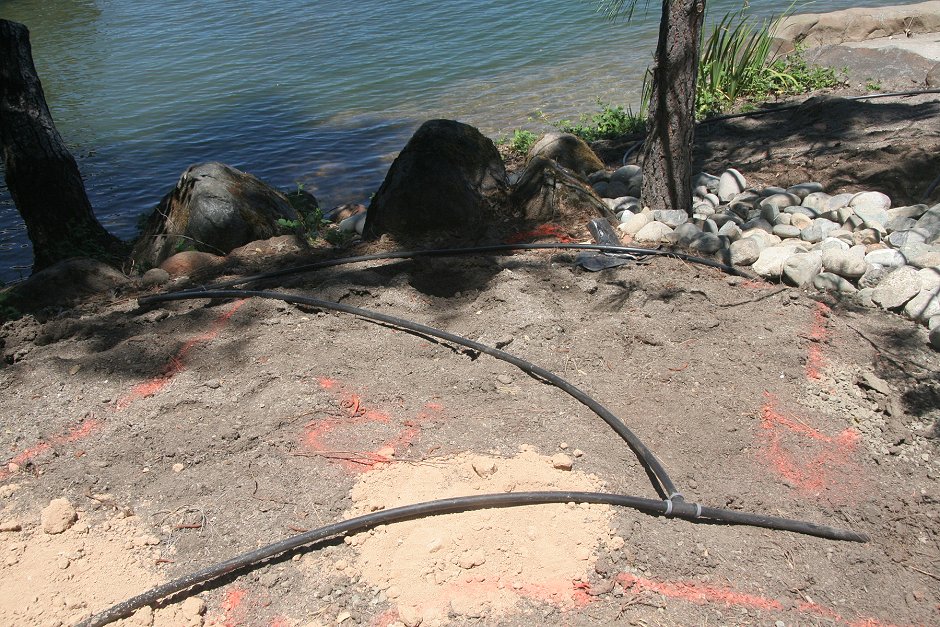
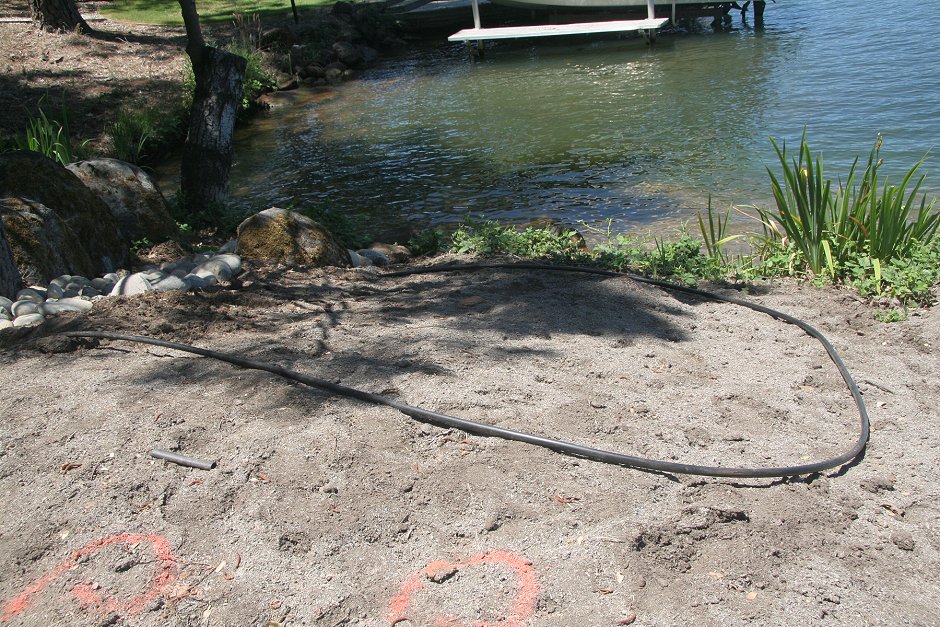
| ...a
line that comes out at the patio-side planting area (seen coming out, at
the lower left here). This line makes a sweeping S across the planter, with two lines T-ed off from it, the first going down in this picture and the second sweeping up and back toward the green. |
 |
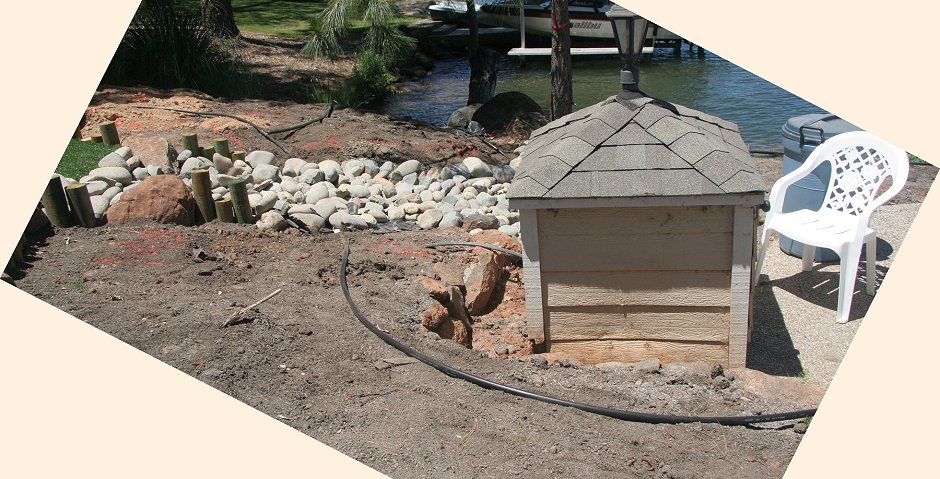
| The line that sweeps up toward the green goes under the turf and ends in this planter. |
 |
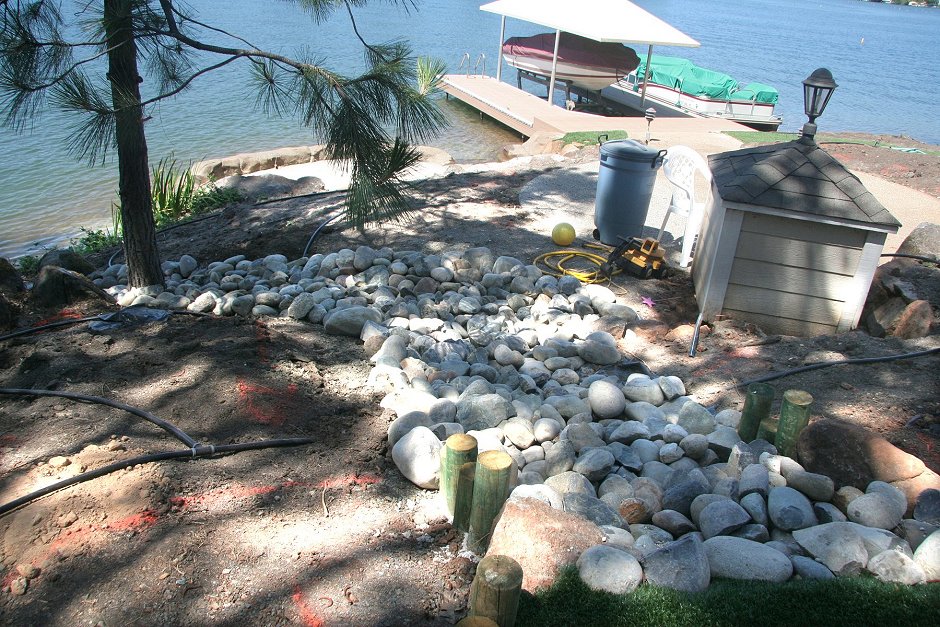
| The T-ed line that goes down (east,
two pictures back) comes out at the east edge of the turf and heads toward the lake and a planter at the dock. The tube under the turf also carries an electrical cable for lighting at the dock. |
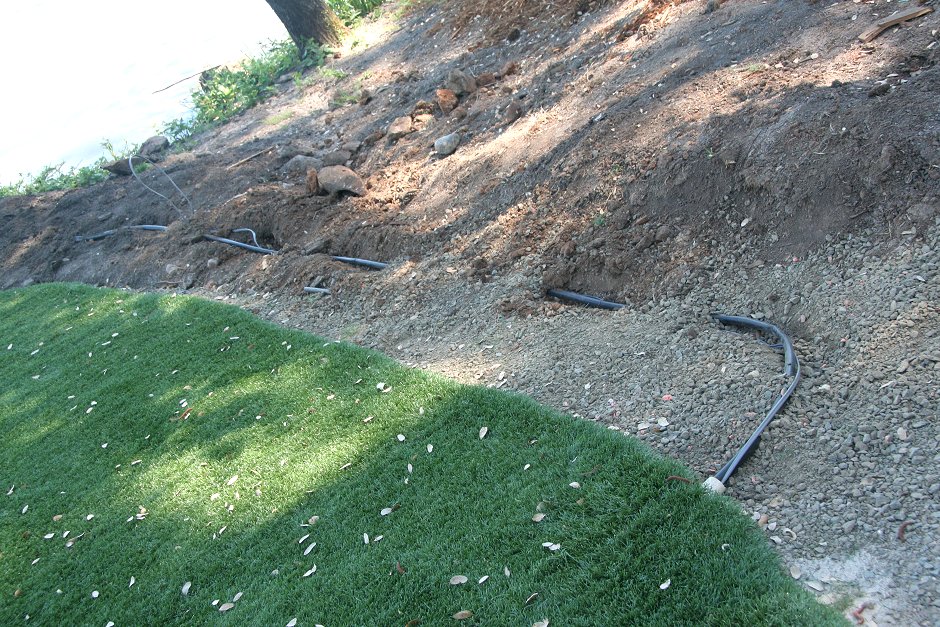 |
| The west drip line, mostly covered by
fill soil, can be seen
running along the retaining wall, from the valve box beyond the picture at right. It goes under the steps to the walkway and then along the west-side retaining wall. Drip lines will be T-ed off from this line to water plants behind both east and west walls. |
 |
| The main west line continues beyond the wall and down to planters near the patio. |
 |
| A sweeping line T-ed off
from the main line (the main is near the bottom of this picture) will feed drip lines
below the patio. The main line continues toward and under the swale rocks (out of picture at right) to feed drip lines above the patio. |
 |
| If you look closely, you
can see the drip line coming out from under the swale rocks to the planter
above the walled beach. You can see main drip line, nearer the bottom of the picture, go under the swale and come out in back of the towel box. |
 |
| This view from the patio shows the line more clearly. It will water the planter just above the patio. |
 |
| This is the line going under the swale rocks and coming out to water the planter near the lake west of the patio. |
 |
| The complete arc of this drip feeder. |
 |
Continue to Part 16 | Family Hub | Home
Quick Access Links
Each link is to roughly a day's work.