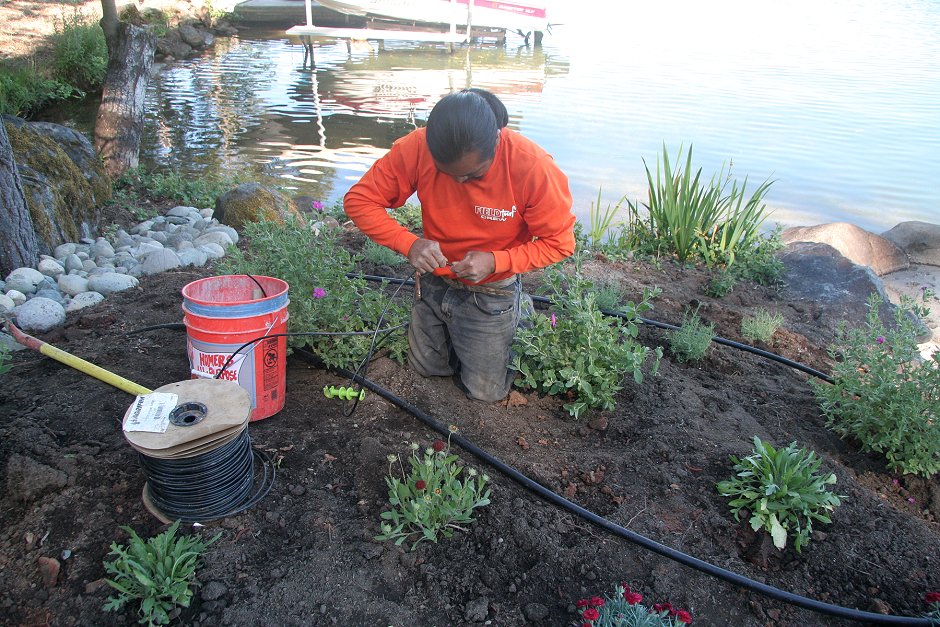
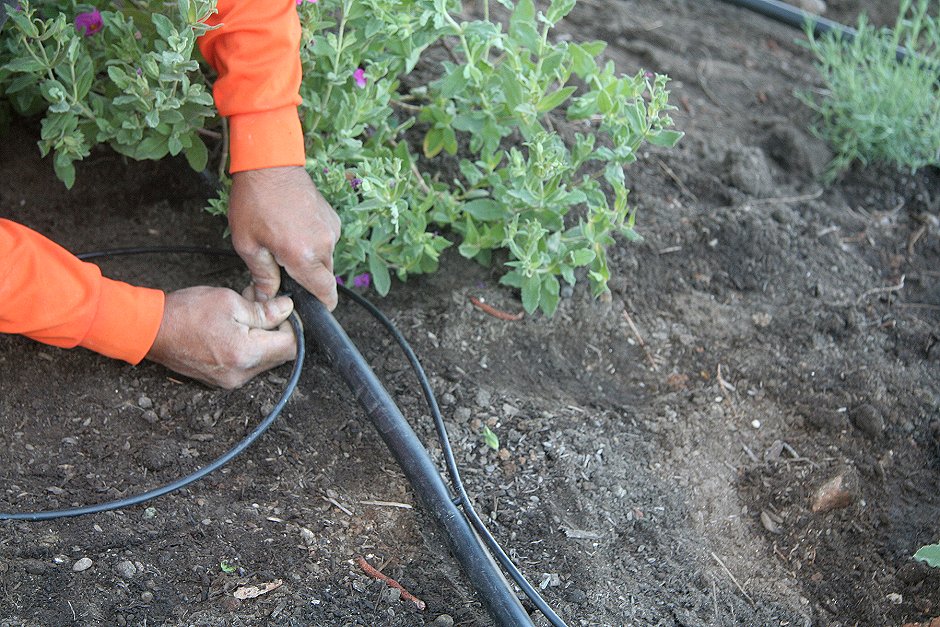
| After all the plants were in the ground, Alfredo carefully went from one to the next to install individual drip lines to each plant. |
 |
Lakeside Landscaping in
2011
at the Lindberg Lake Wildwood
Resort
Part 17 -- Individual Drip Lines
Work on Thursday, June 30, 2011
| After all the plants were in the ground, Alfredo carefully went from one to the next to install individual drip lines to each plant. |
| |
| Here you can see two drip lines teed off from the main line, and tools for installation. |
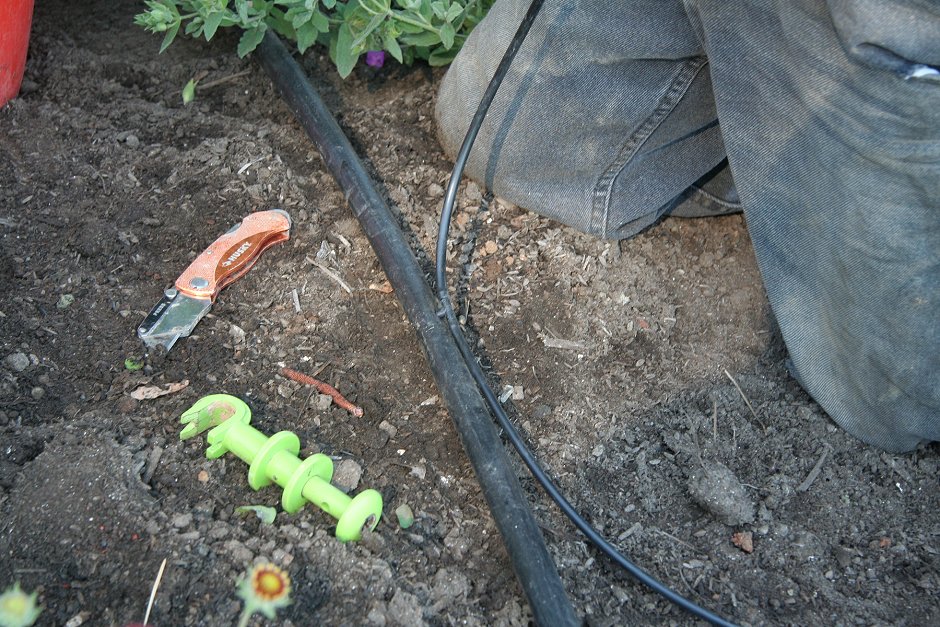 |
| Alfredo prepares to install another
pair of drip lines a short distance from the lines in the above photo. He places the hole-punch tool over the main line and pushes the plunger to create a hole. |
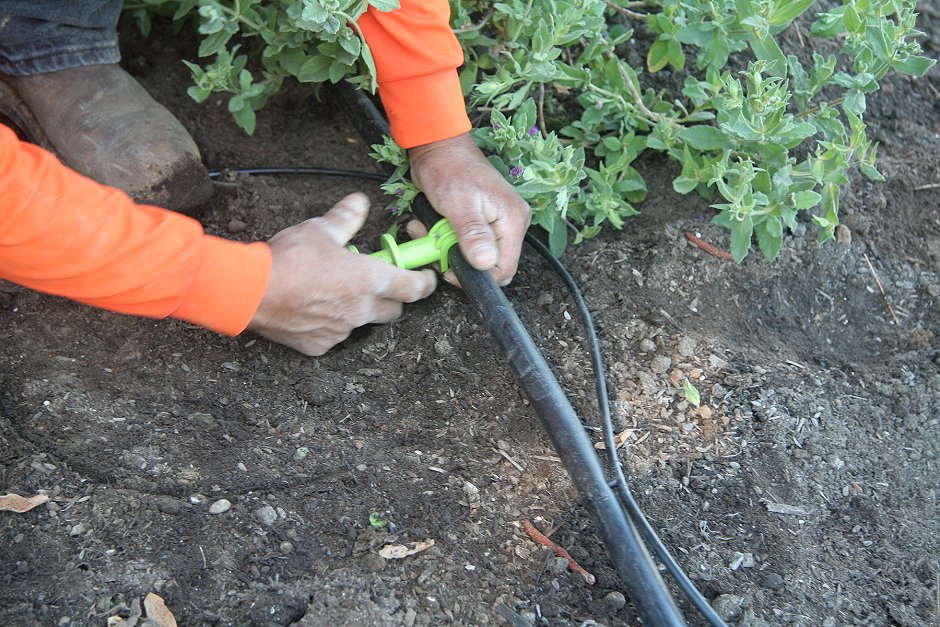 |
| Then he pushes a T into the hole. |
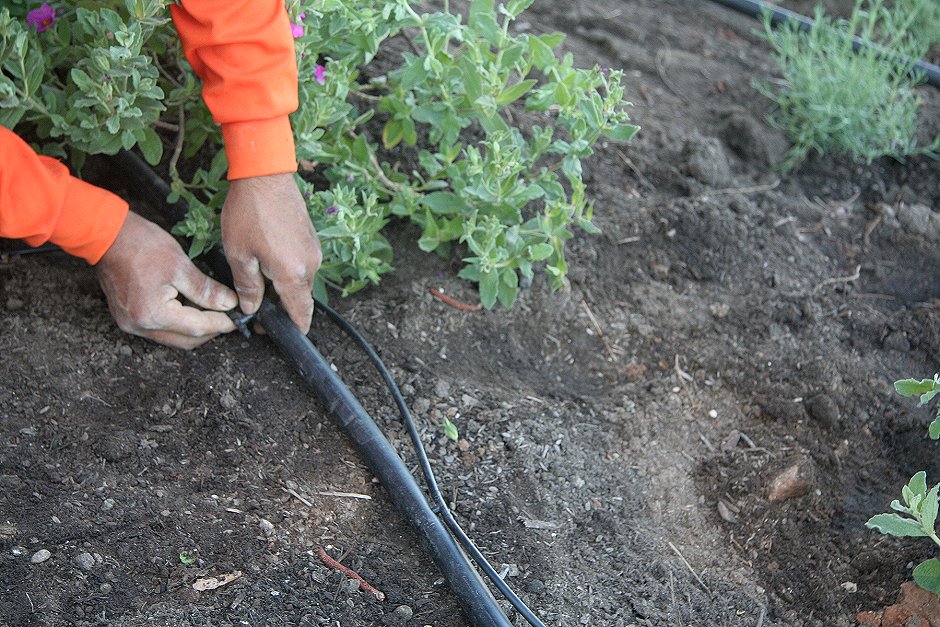 |
| Then he cuts off a length of tube and
pushes it over one side of the T, and the same for the other side. He attaches appropriate drip heads to each tube, large for trees, smaller for plants. Both types have adjustable flow at the heads. |
 |
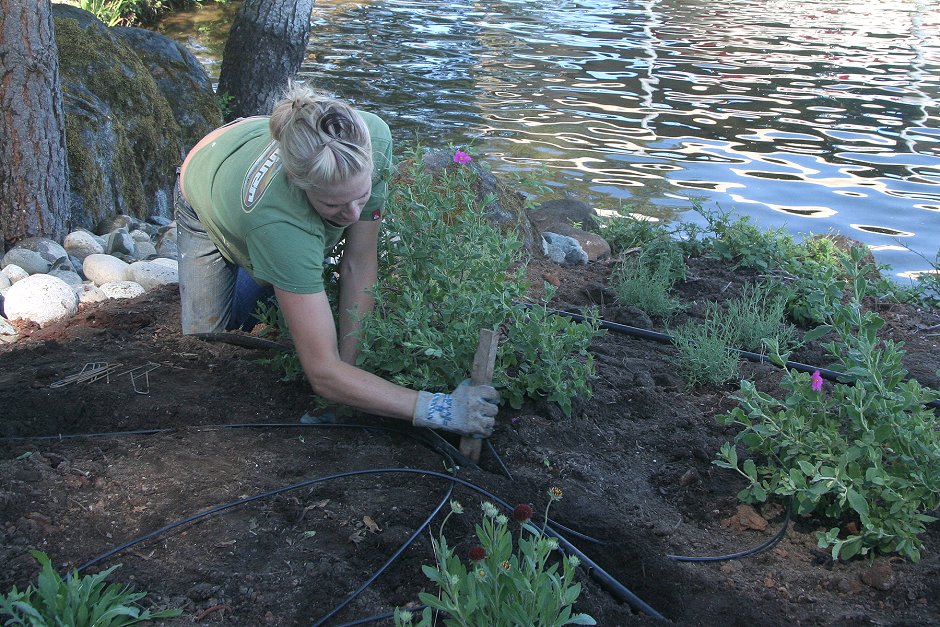
| After drip lines are installed,
Hannah buries each line by scraping slots with a pointed wood stake and pushing soil over the lines. |
 |
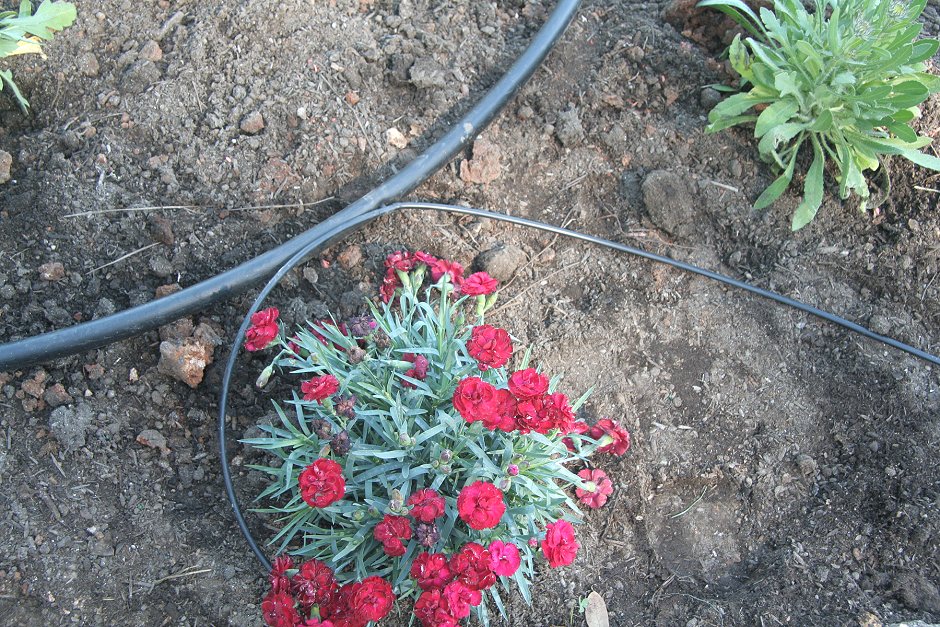
| Drip line to a dianthus plant. |
 |
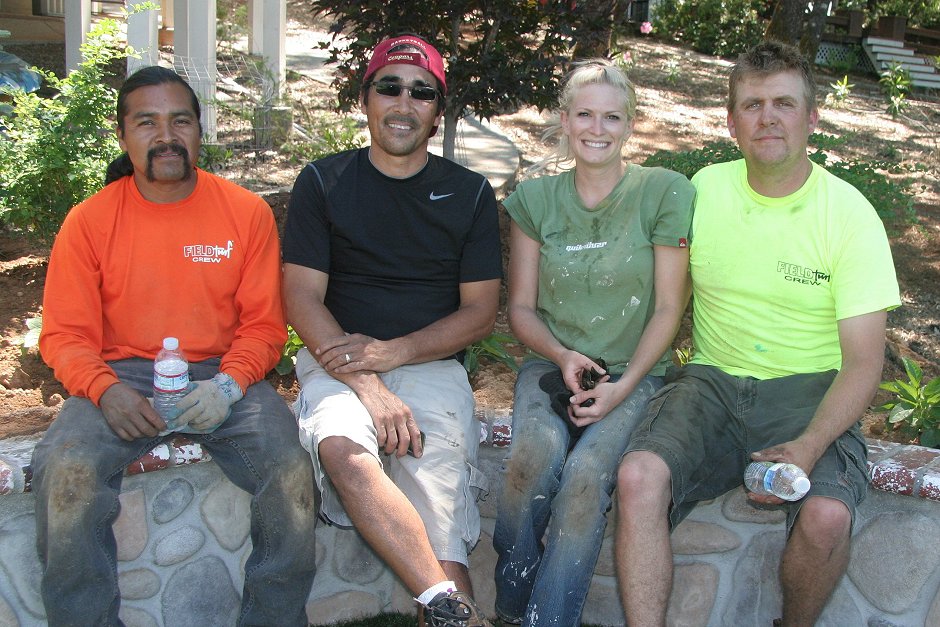
| The happy crew takes a water break: Alfredo, Tony, Hannah, Tom. |
 |
| Same group, sans cap brims, and Tony with a shirt. |
 |
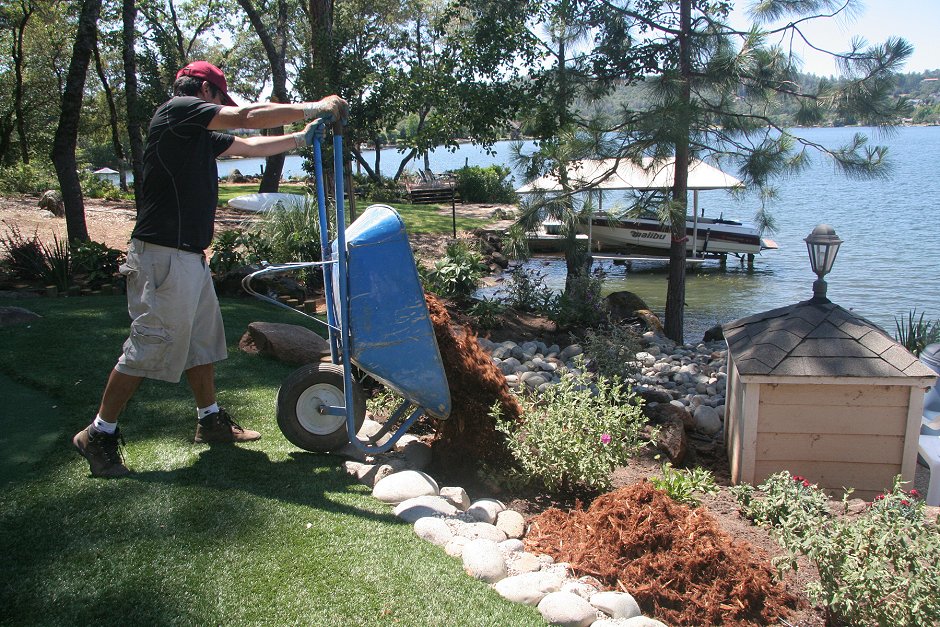
| Final step is spreading shredded redwood over the soil to hold moisture and shield soil from weed seeds. |
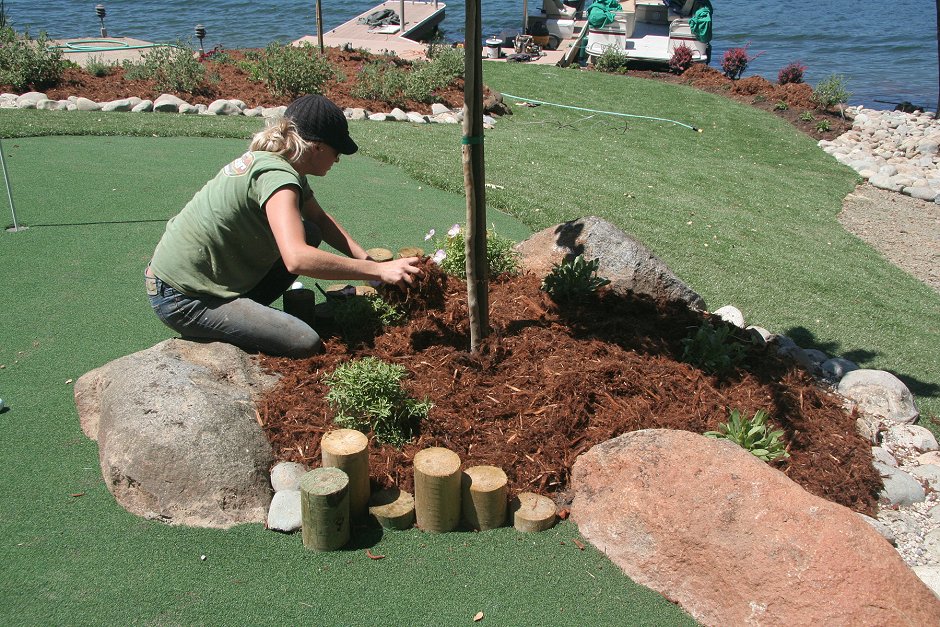 |
| They put shredded redwood on thick -- a truckload shared with the Zirelli yard next door. |
 |
| Installed lines in the
east planter behind the wall. Note that the main line takes a dive into the soil, to go under the concrete stairs and over to the west-side planter. |
 |
Continue to Part 18 | Family Hub | Home
Quick Access Links
Each link is to roughly a day's work.